This is my first pinhole picture that I altered using the 'bright contrast' option.
This is a reverse of my first pinhole picture. I made this in the darkroom by placing a blank piece of photo paper on top of my original print.This is my second pinhole picture that I altered
using the 'bright contrast' option.
 |
| This is the reverse of my second pinhole picture. I made this in the darkroom by placing a blank piece of photo paper on top of my original print and exposing it to the light. |
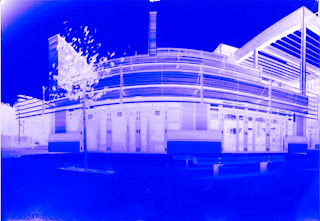
To make this image I scanned it and opened it up on Adobe photoshop and used the 'hue saturation' option which altered it, allowing it to look purple and white.

right I used my scanned version of my first pinhole
picture and used the 'channel mixer' option.


No comments:
Post a Comment